How to Apply Advanced Settings in QR Code
Advanced Settings allow you to control tracking, campaign scheduling, scan limits, password protection, and redirection rules for your QR Code.
If you want better control, security, and tracking — this section is very important.
Where to Find Advanced Settings
- Login to your QRTRAC dashboard
- Click Create QR Code
- Choose your QR type
- Go to the Configure section
- Scroll down to Advanced Settings
1️⃣ GPS Tracking
GPS Tracking allows you to track the location where your QR code was scanned. Once enabled, you can see scan location data inside your analytics dashboard.
How to Enable:
- Toggle GPS Tracking to ON
👉 Best for: offline campaigns, event tracking, store performance tracking
2️⃣ UTM Parameters
UTM parameters help you track campaign performance in tools like Google Analytics.
When enabled, you will see fields:
- Source — Where traffic is coming from (e.g., poster, flyer, facebook)
- Medium — Marketing medium (e.g., offline, print, social)
- Campaign — Campaign name (e.g., summer_sale)
- Redirect URL — Final URL where users will land

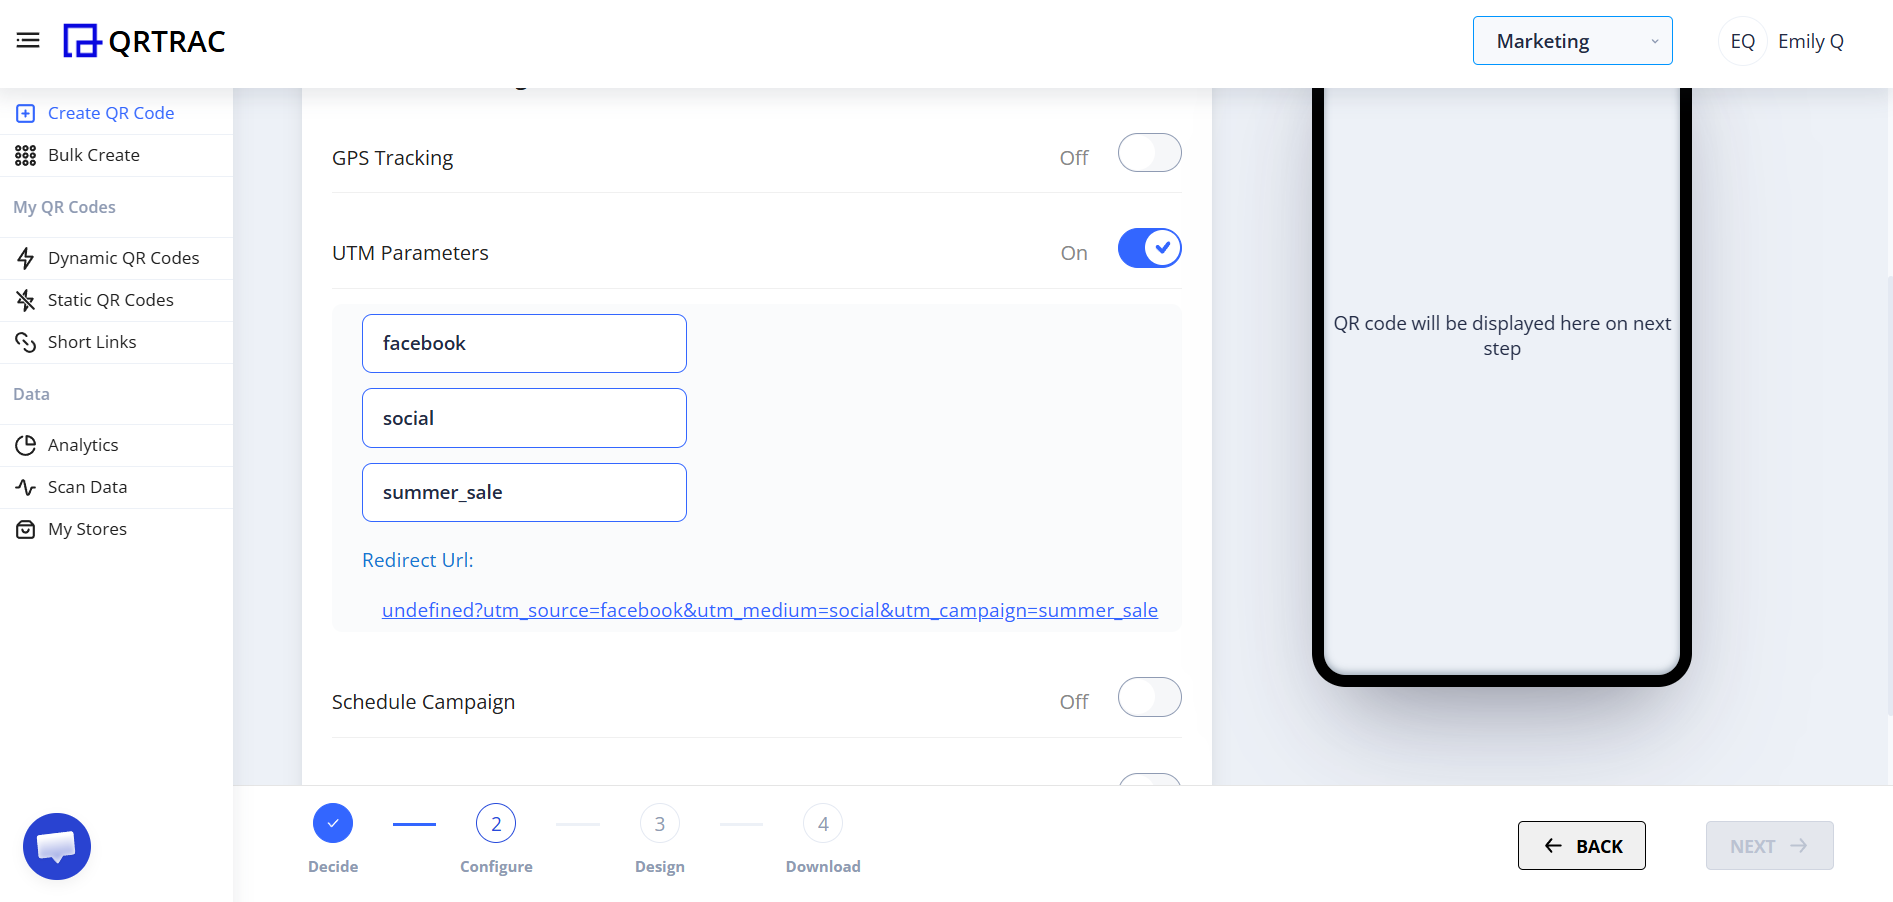
👉 Important: Use UTM only if you are running structured marketing campaigns.
3️⃣ Schedule Campaign
This option allows you to control when the QR code becomes active.
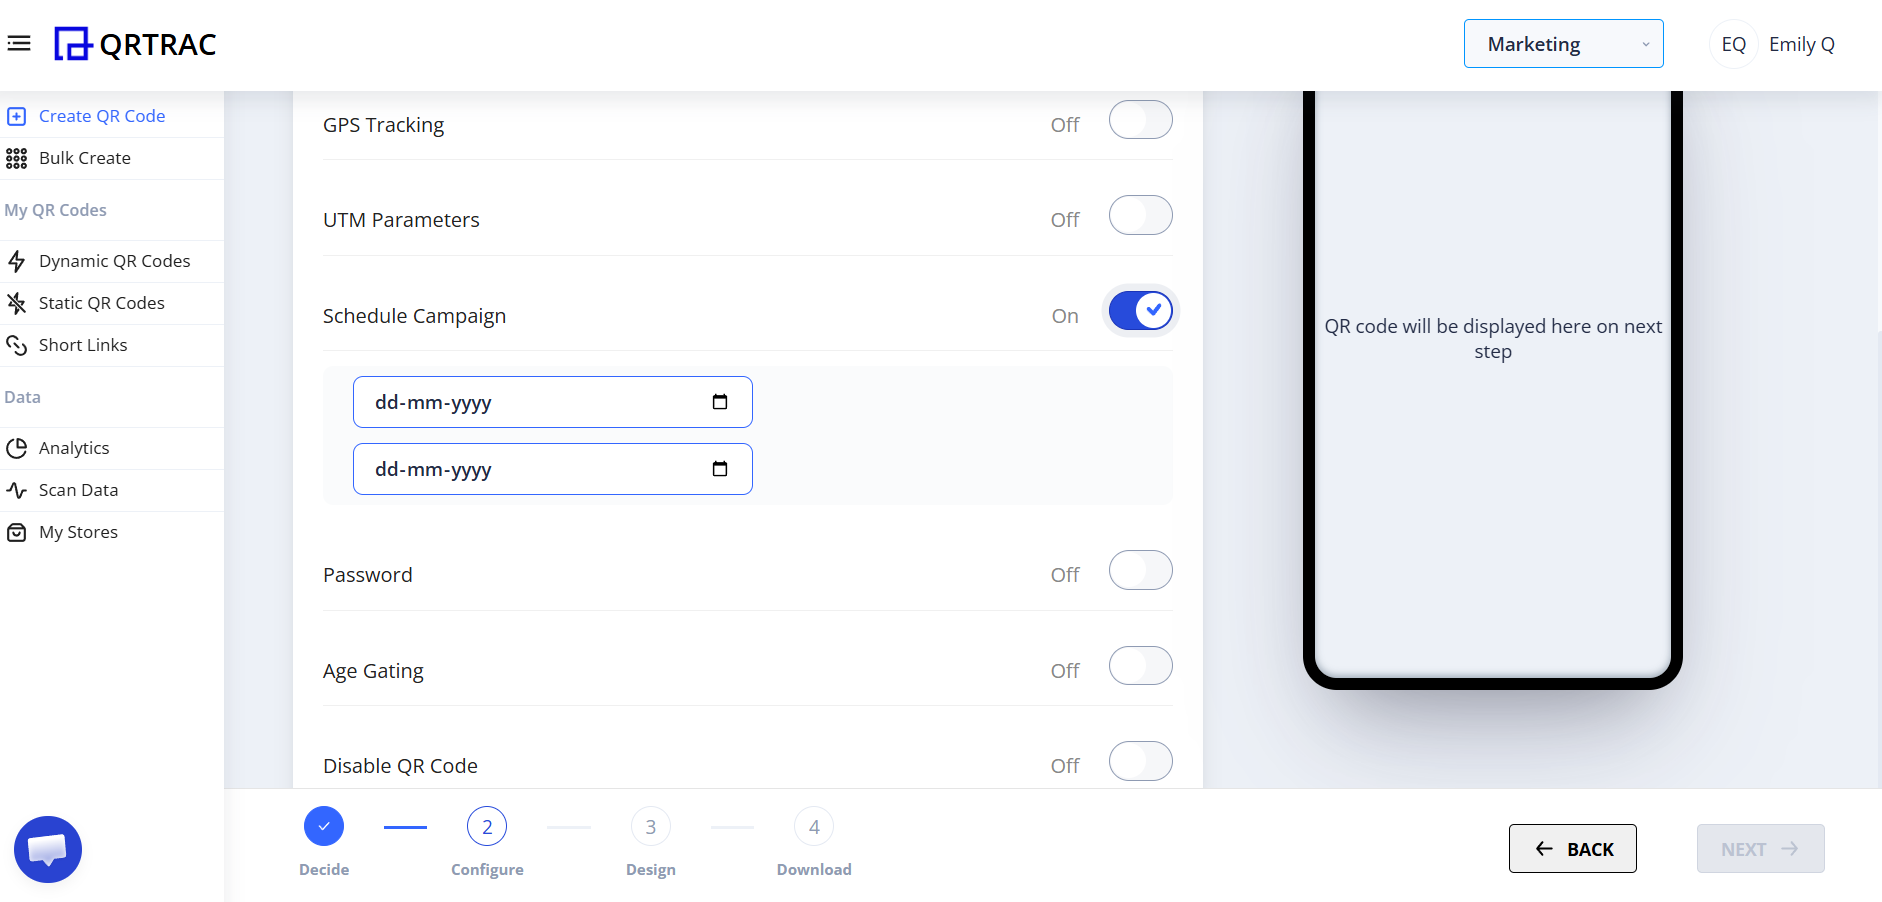
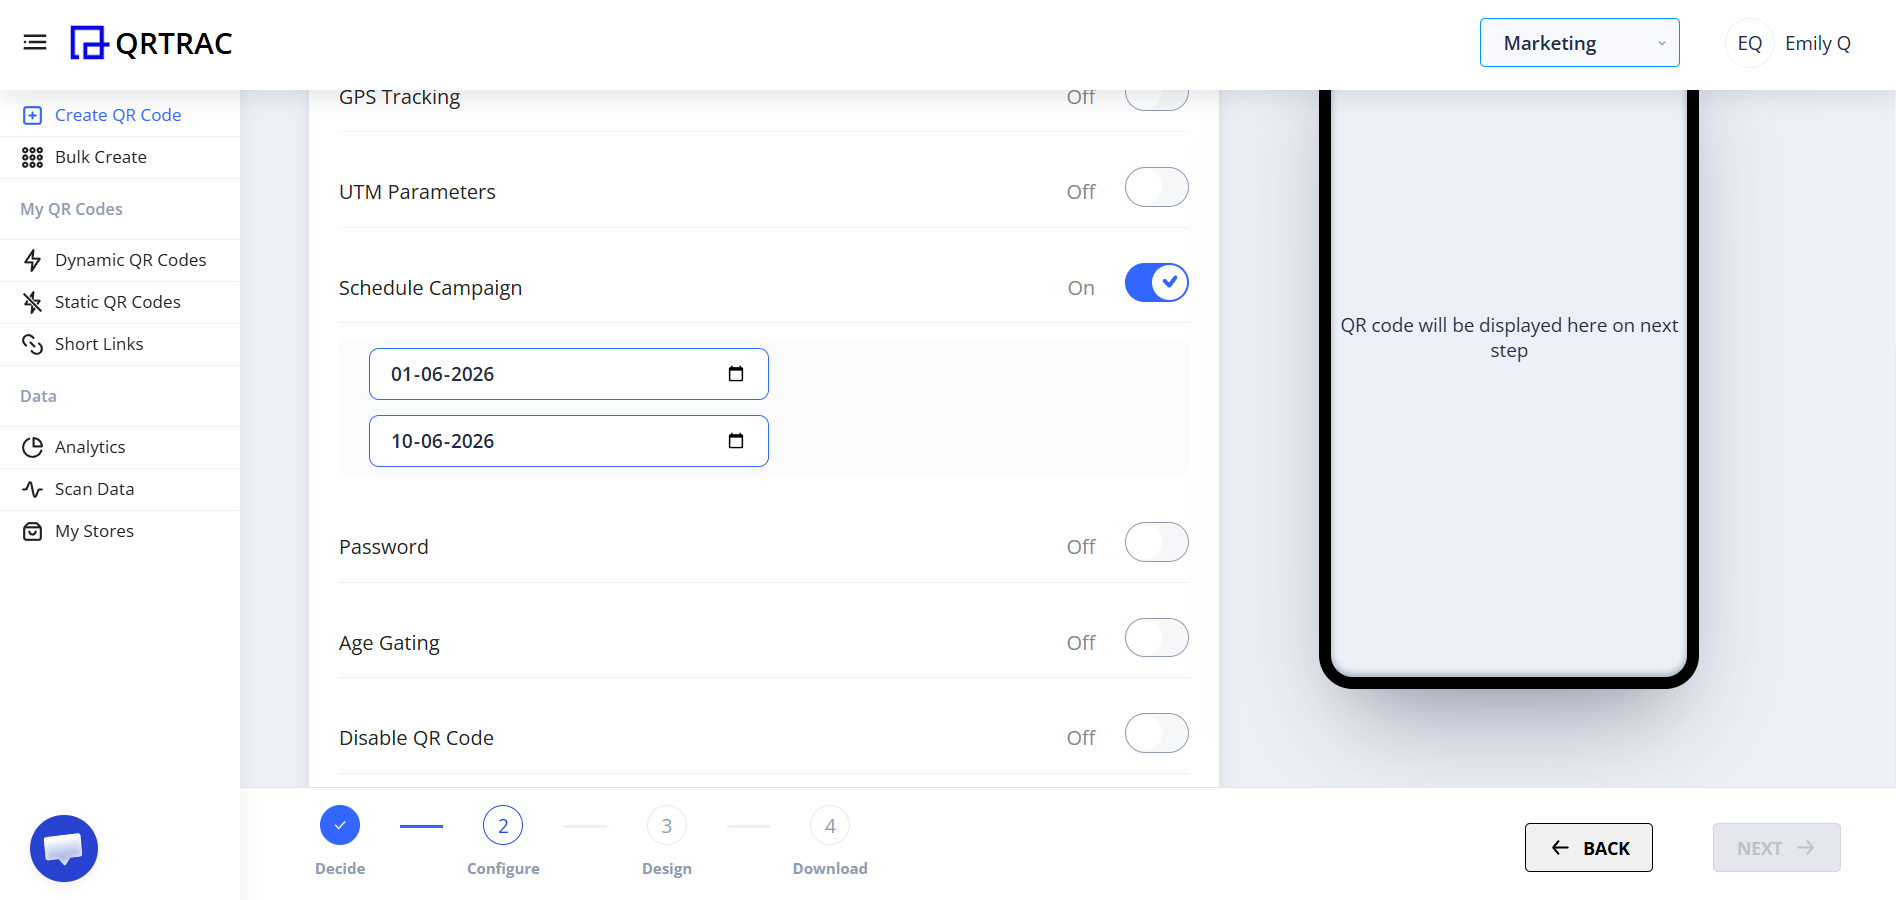
How to Use:
- Enable Schedule Campaign
- Select a Start Date and End Date
After the end date, the QR code will automatically stop working.
👉 Perfect for: limited-time offers, event registrations, festival discounts
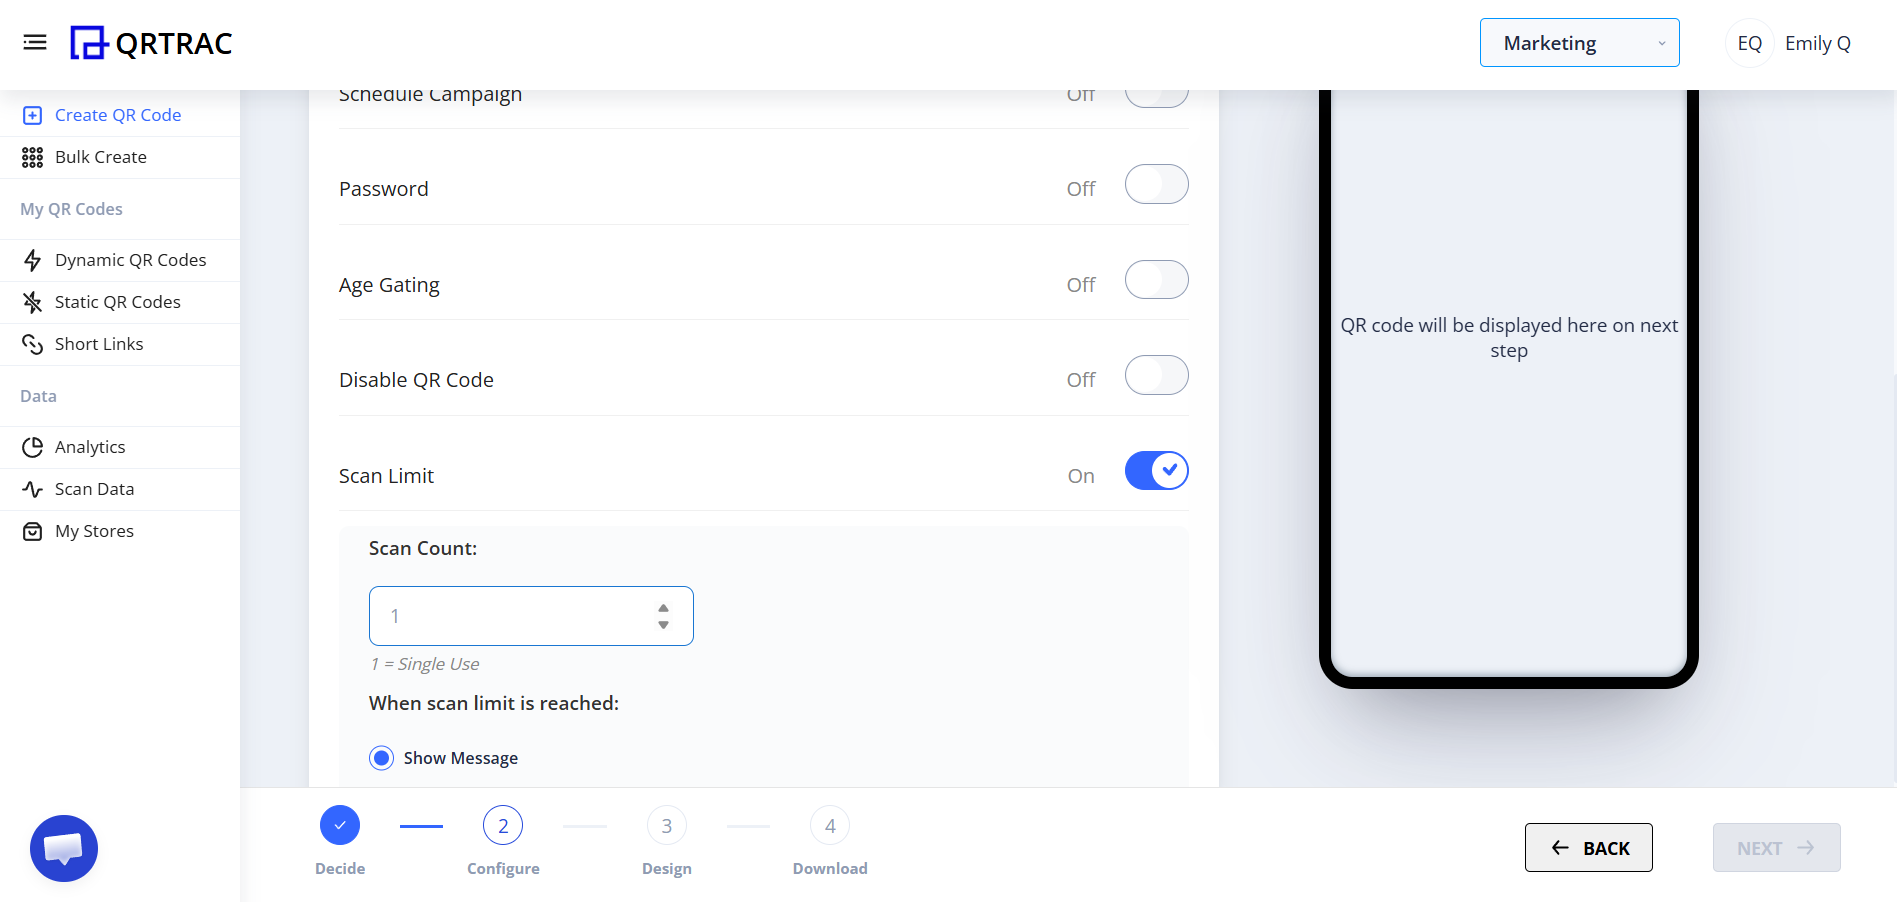
4️⃣ Password Protection
You can protect your QR code with a password. Users must enter the password before accessing the content.
How to Enable:
- Toggle Password to ON
- Set a password
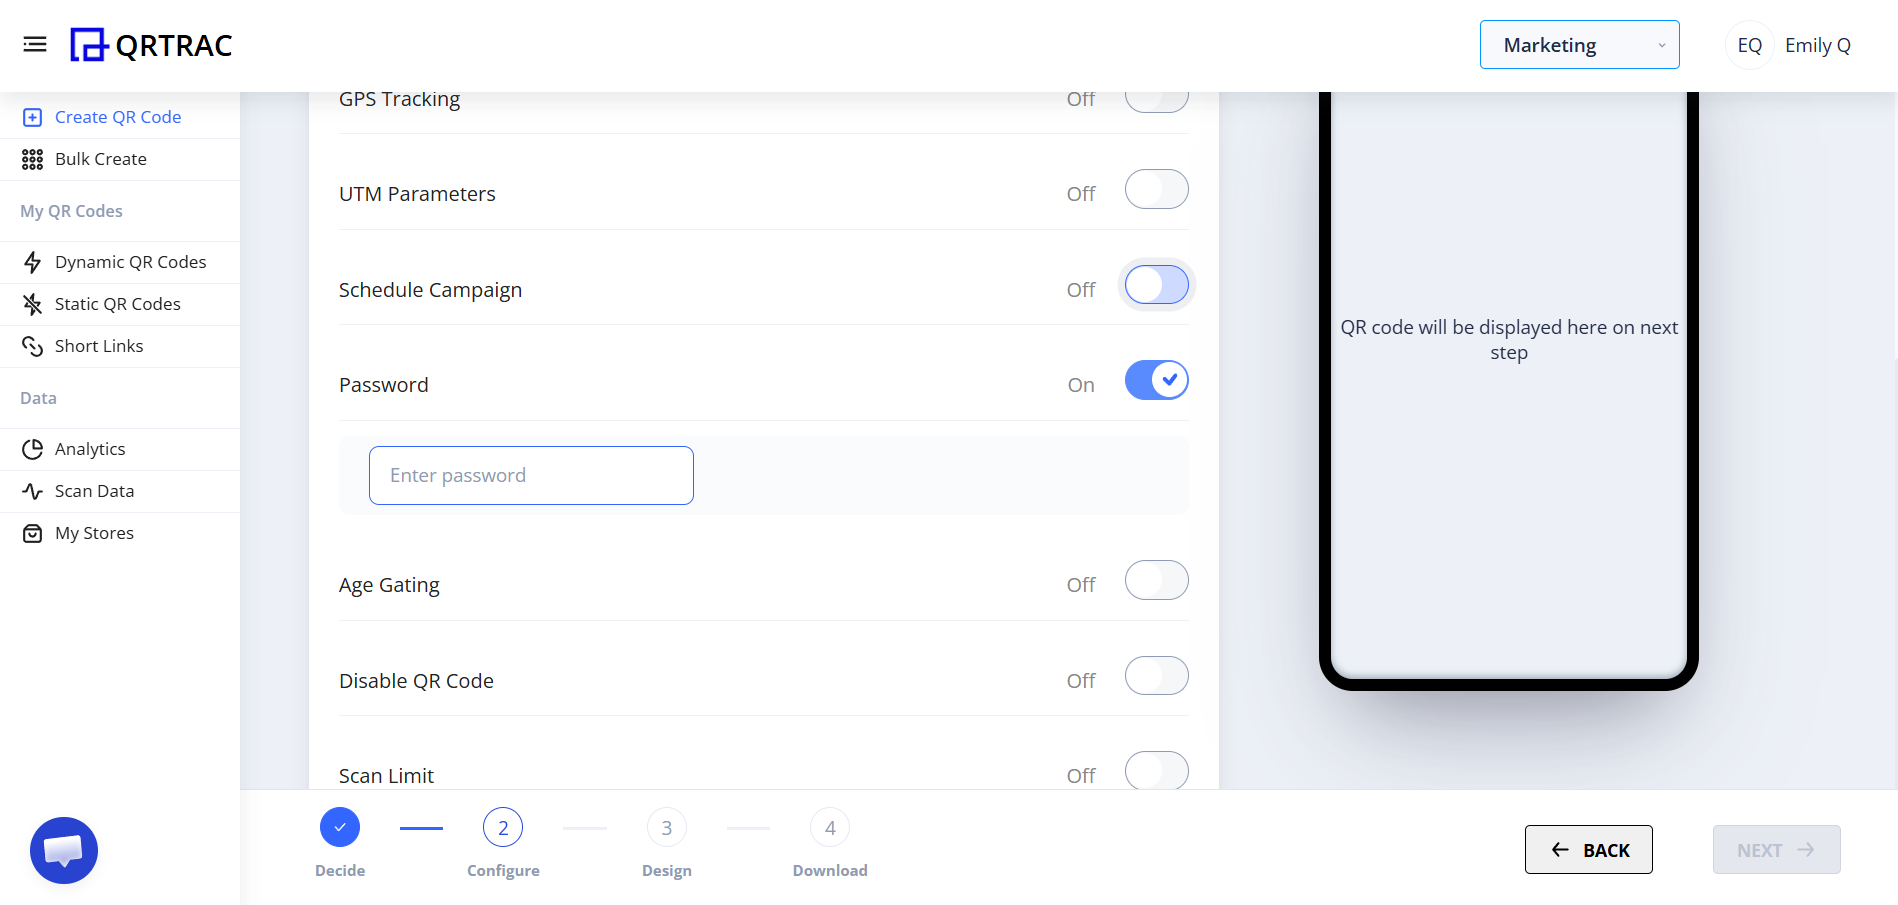
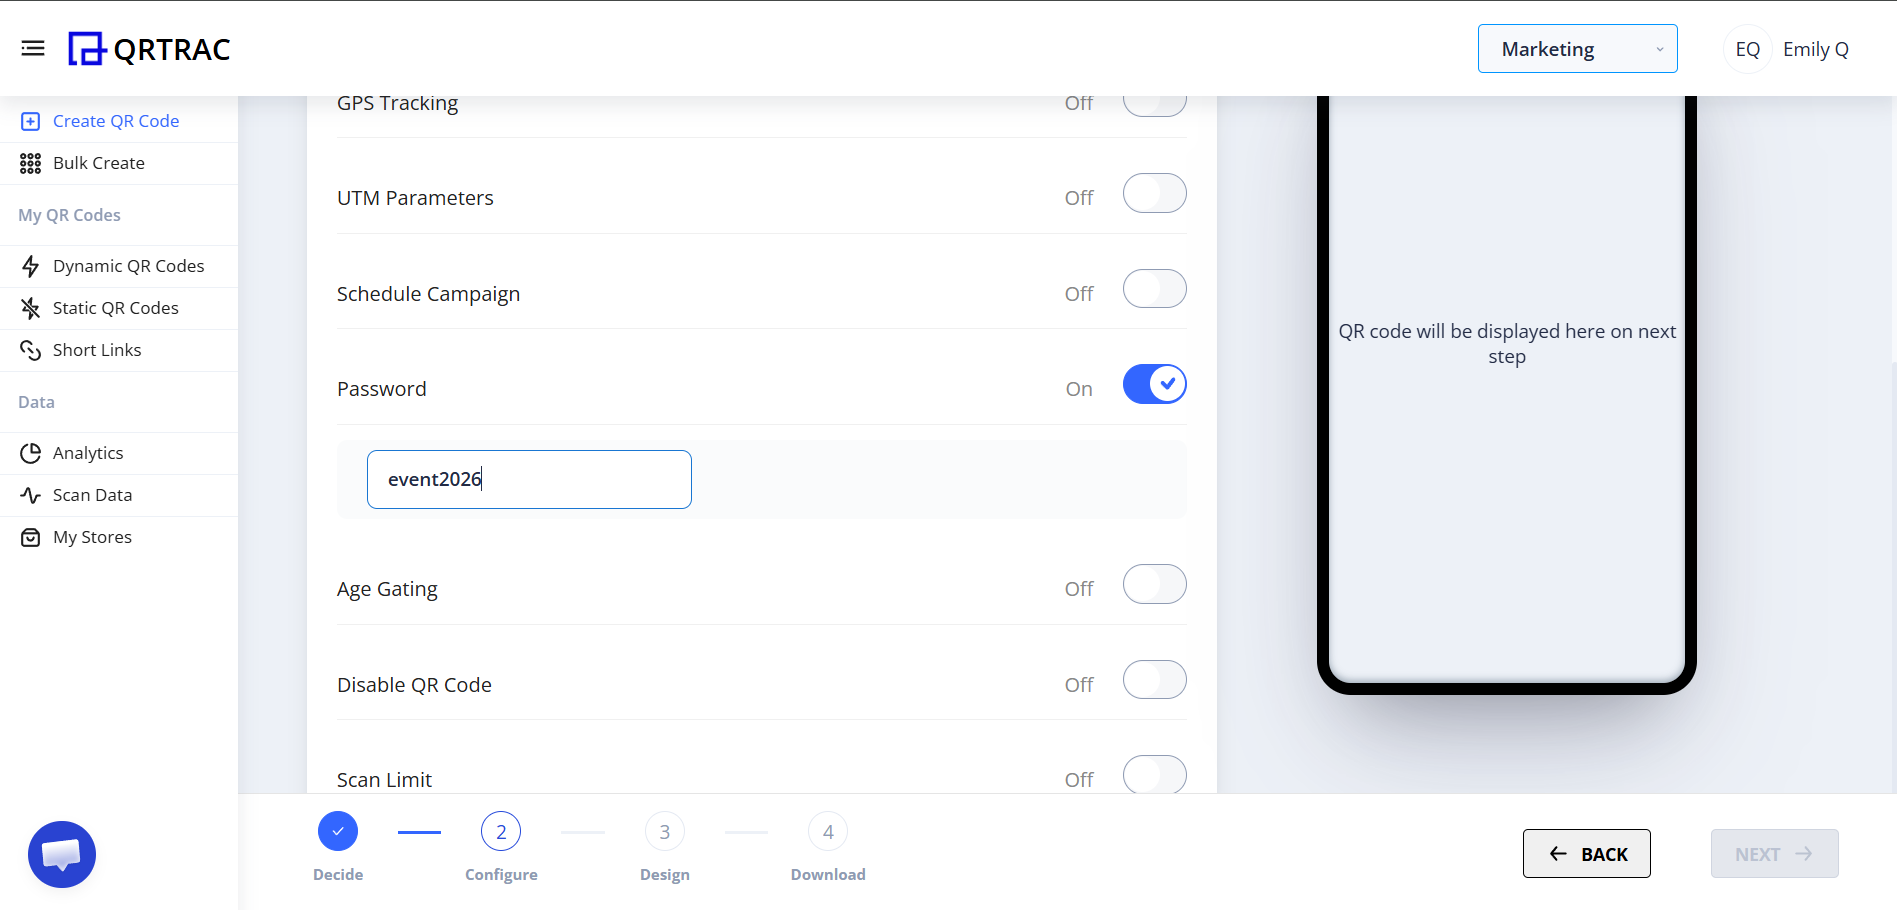
👉 Useful for: private documents, internal company links, exclusive offers
5️⃣ Minimum Age Restriction
You can set a minimum age requirement. Users must confirm their age before accessing the content.
- Enter minimum age
- Users will see an age confirmation screen before access
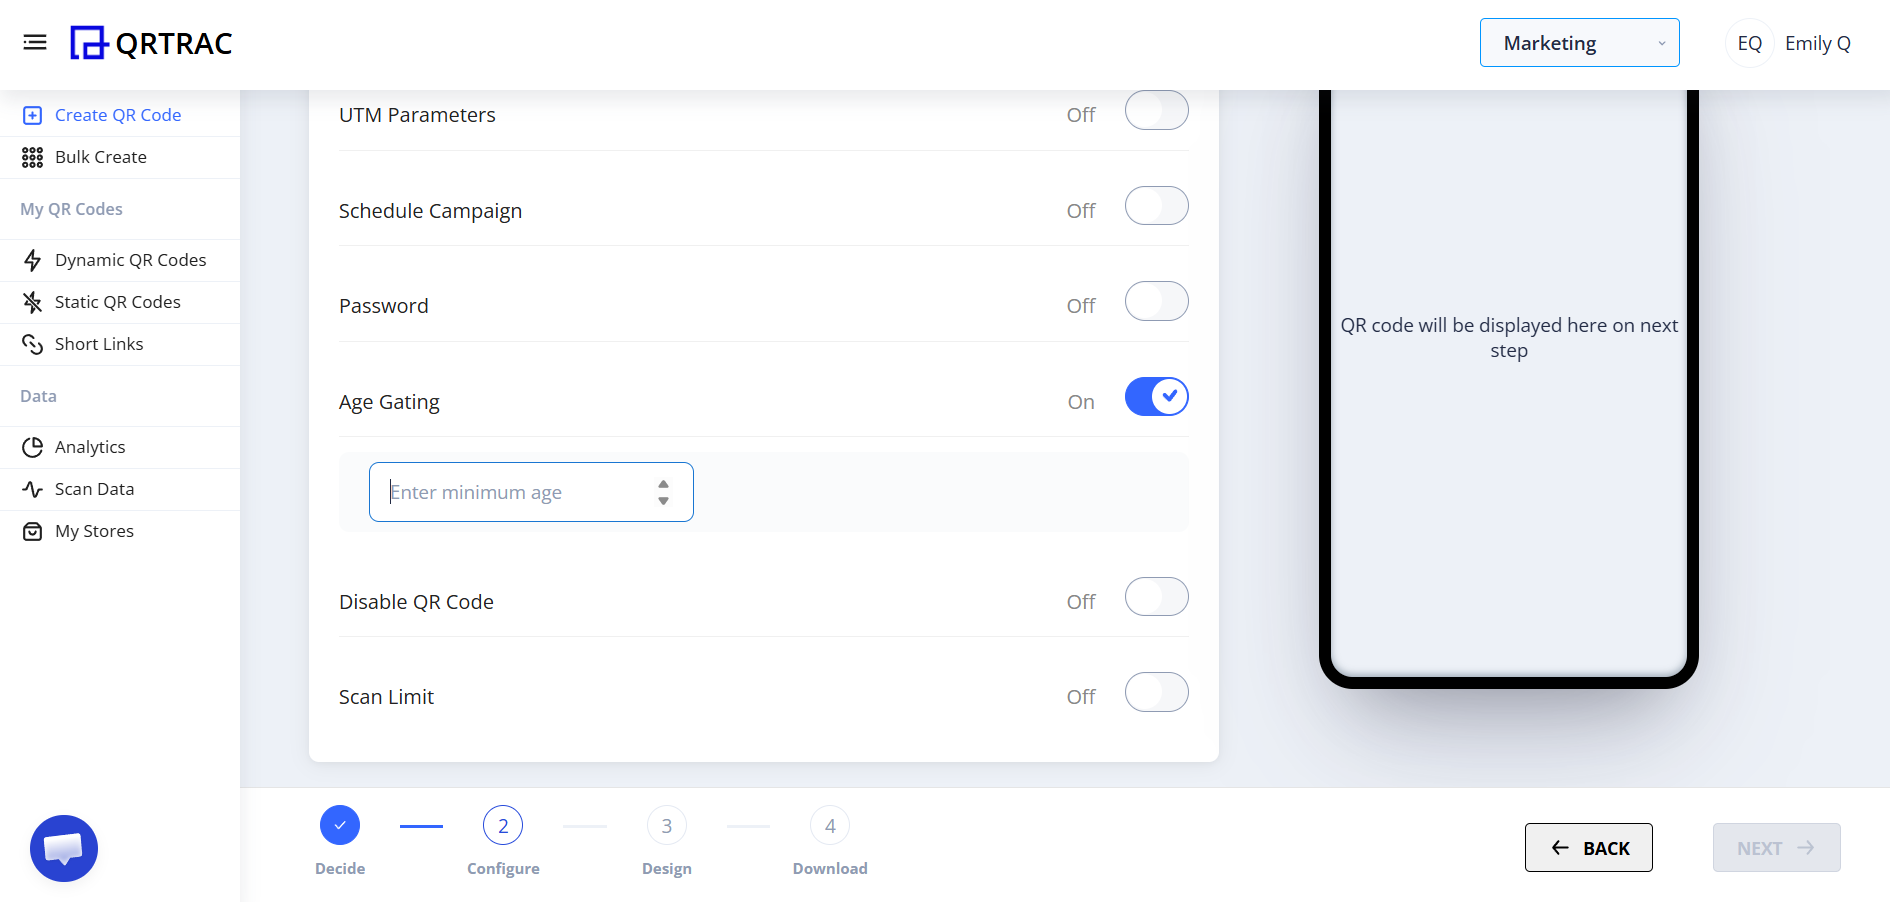
👉 Ideal for: alcohol promotions, adult content, age-restricted campaigns
6️⃣ Disable QR Code
You can manually disable a QR code anytime.
When enabled:
- QR code stops working immediately
- You can add a custom redirect URL for users who scan the disabled code
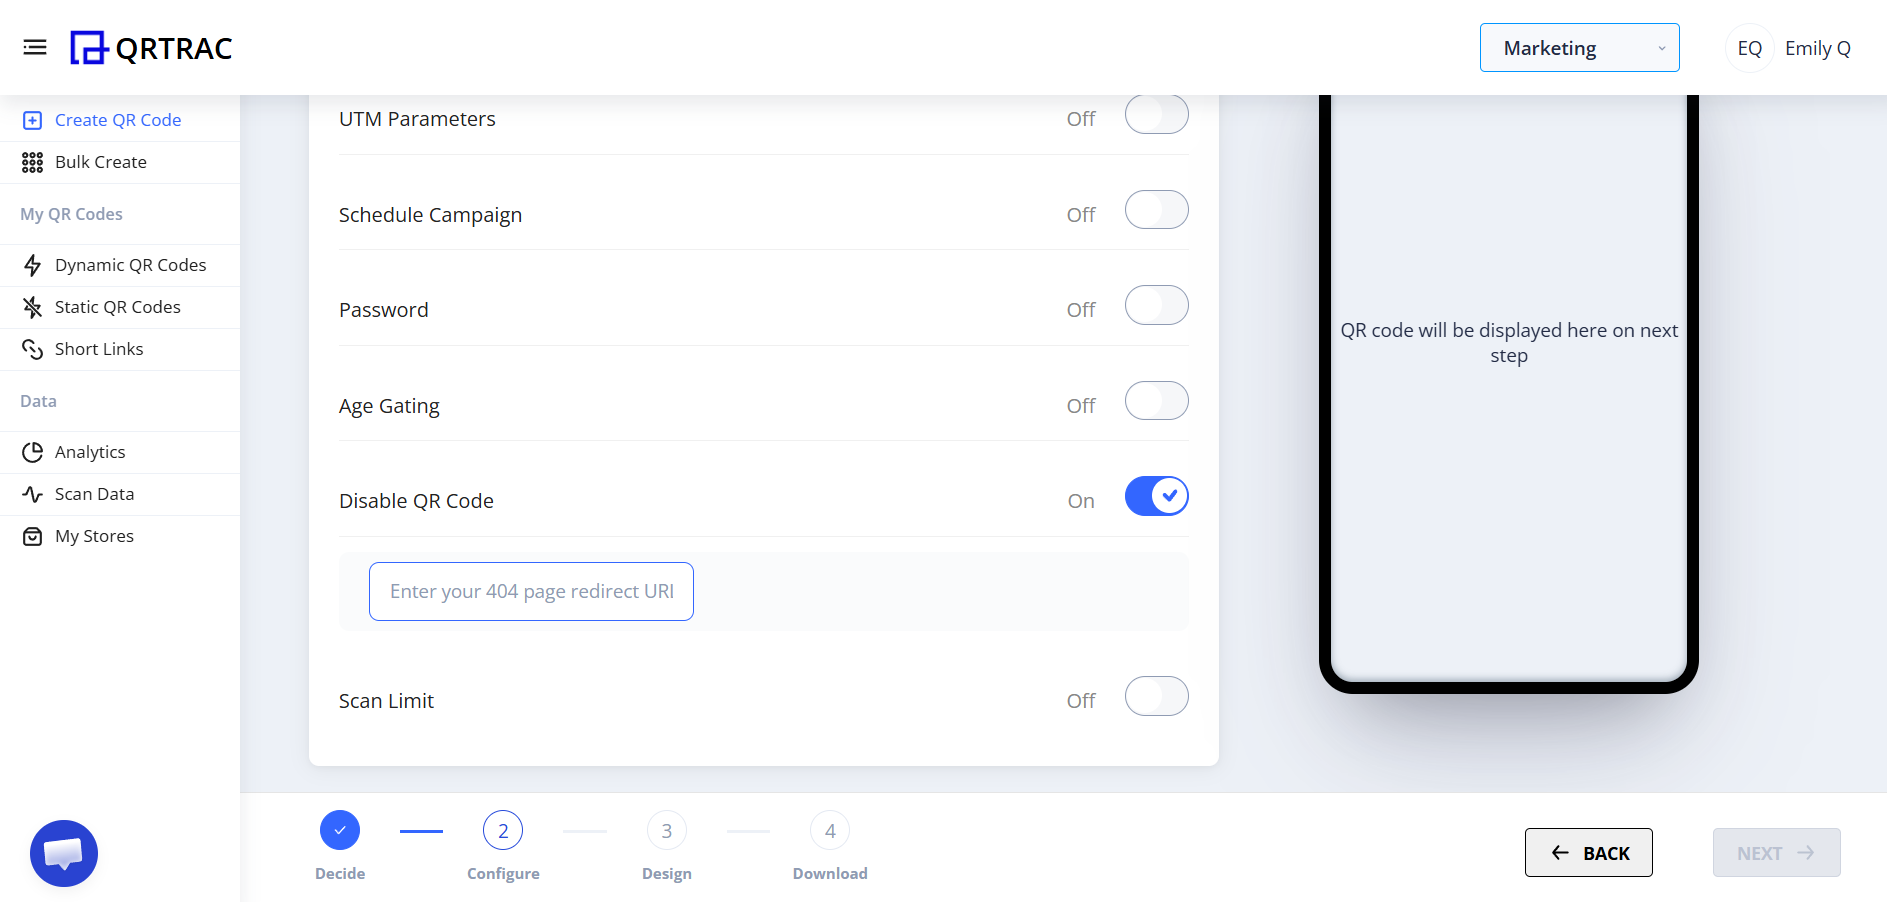
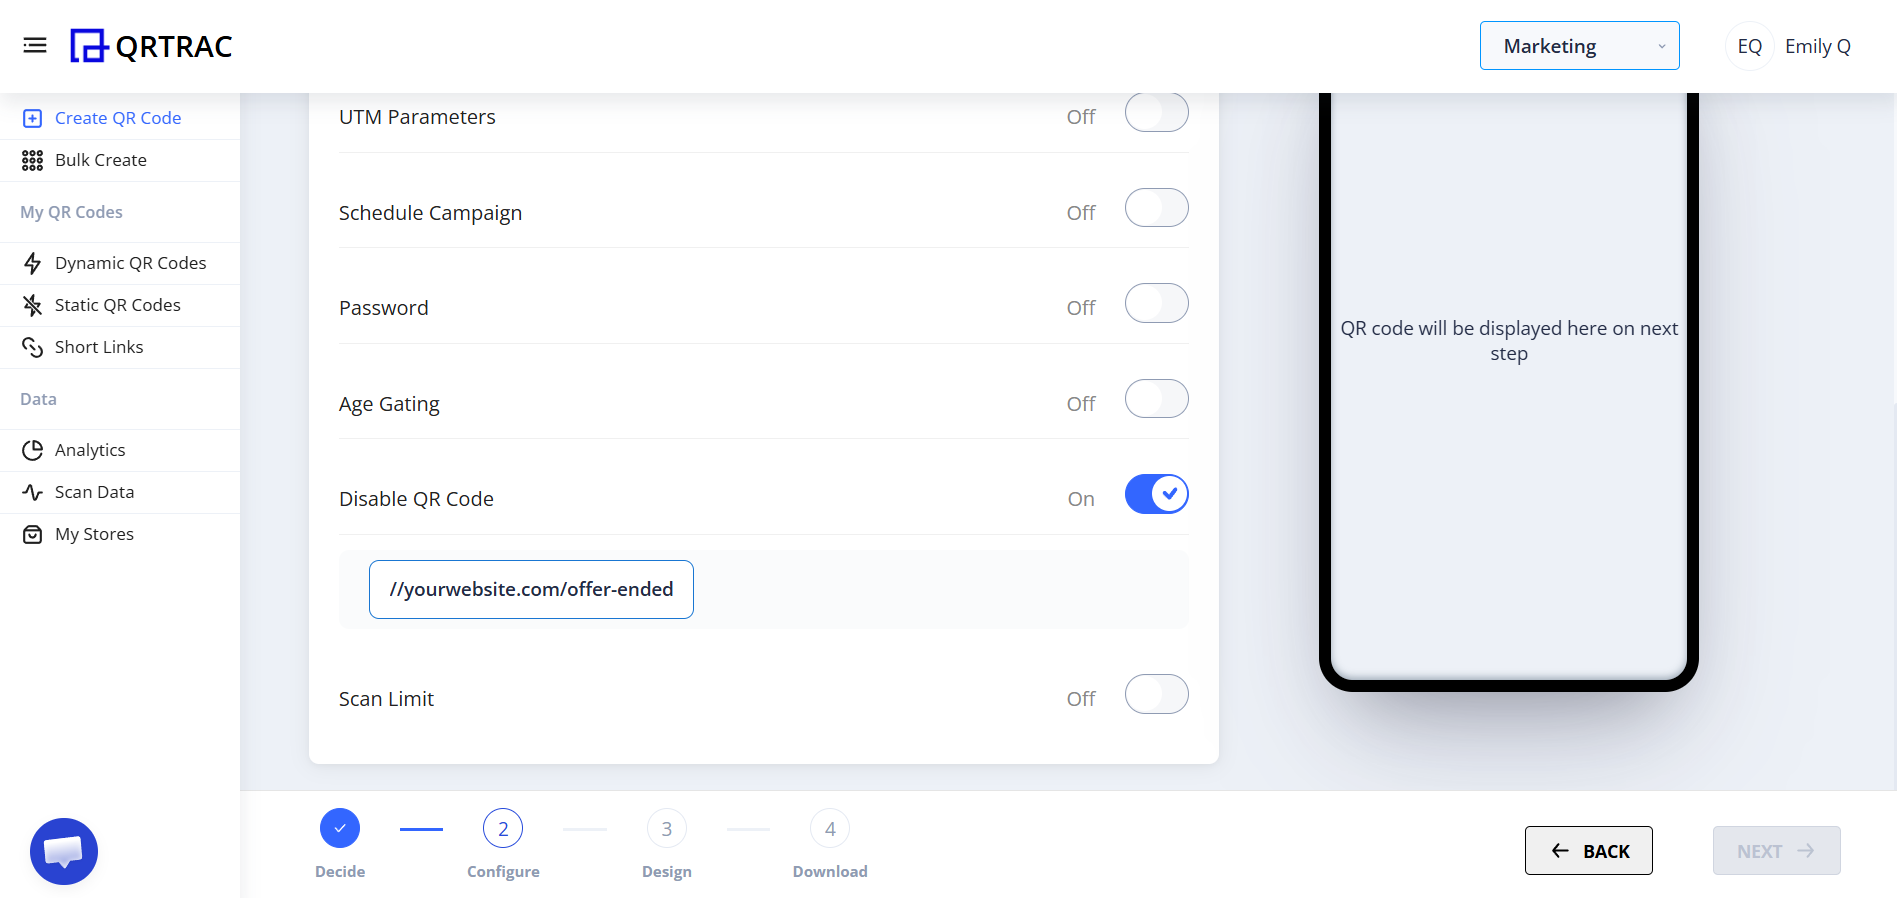
👉 Useful when: campaign is over, wrong link added, emergency stop required
7️⃣ Scan Limit
Scan Limit allows you to restrict how many times a QR code can be scanned.
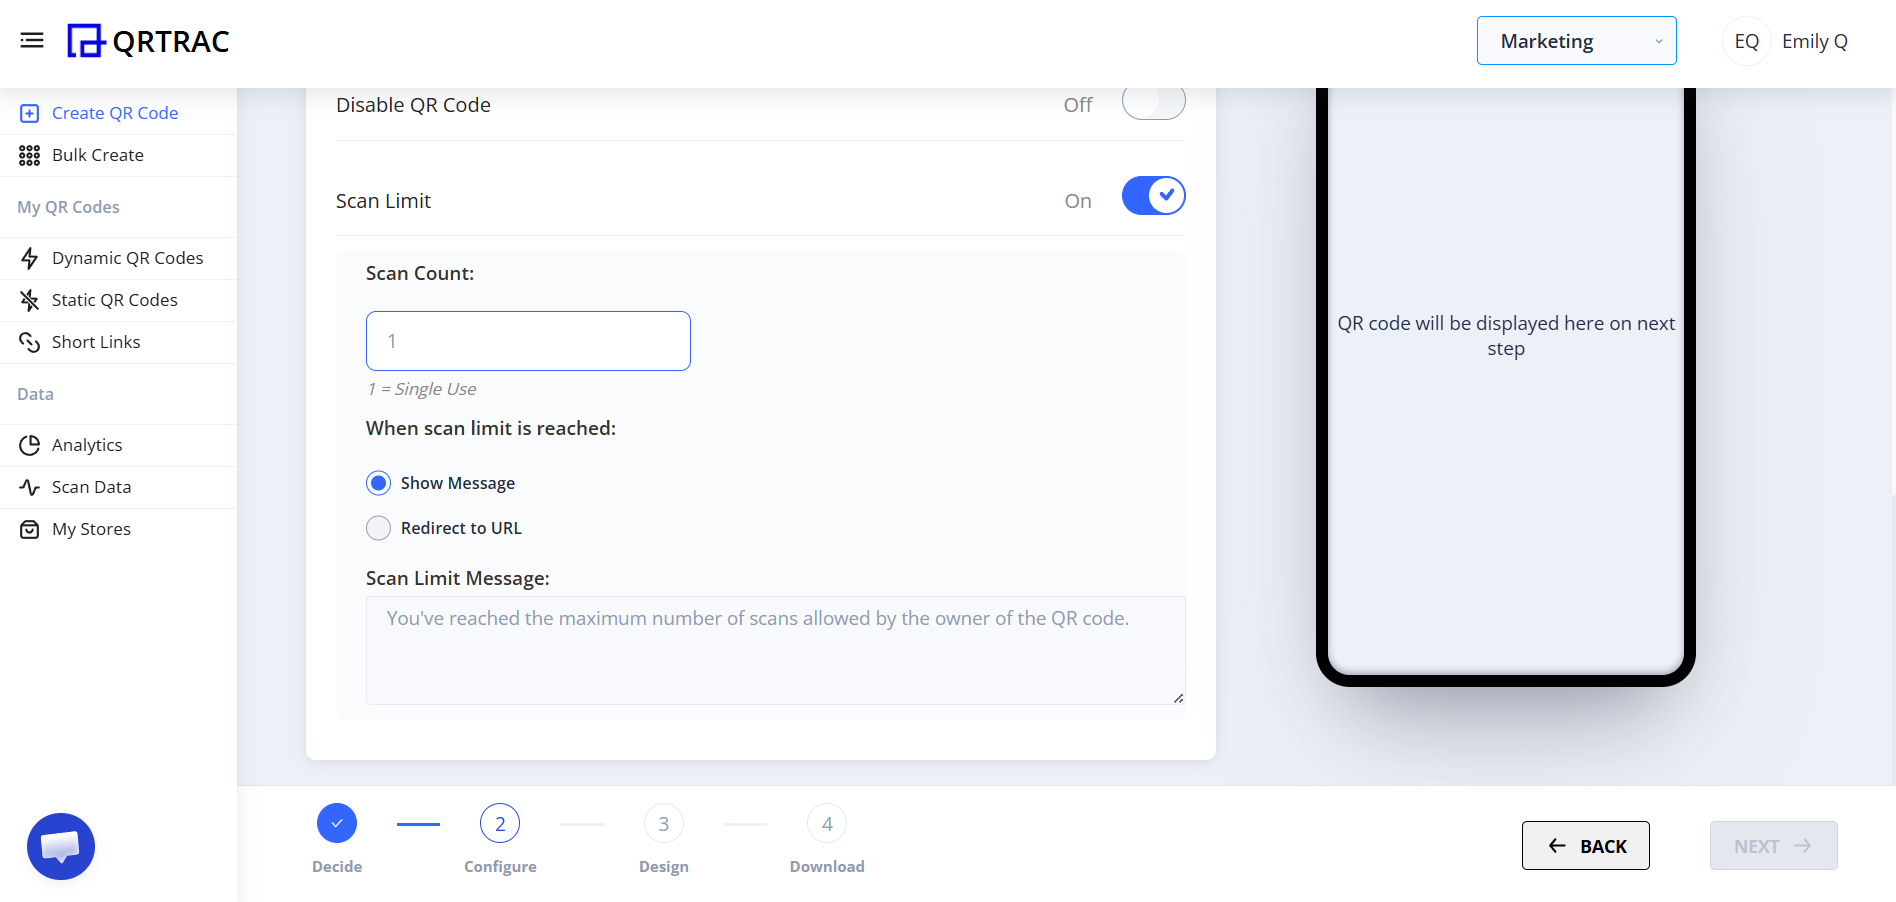
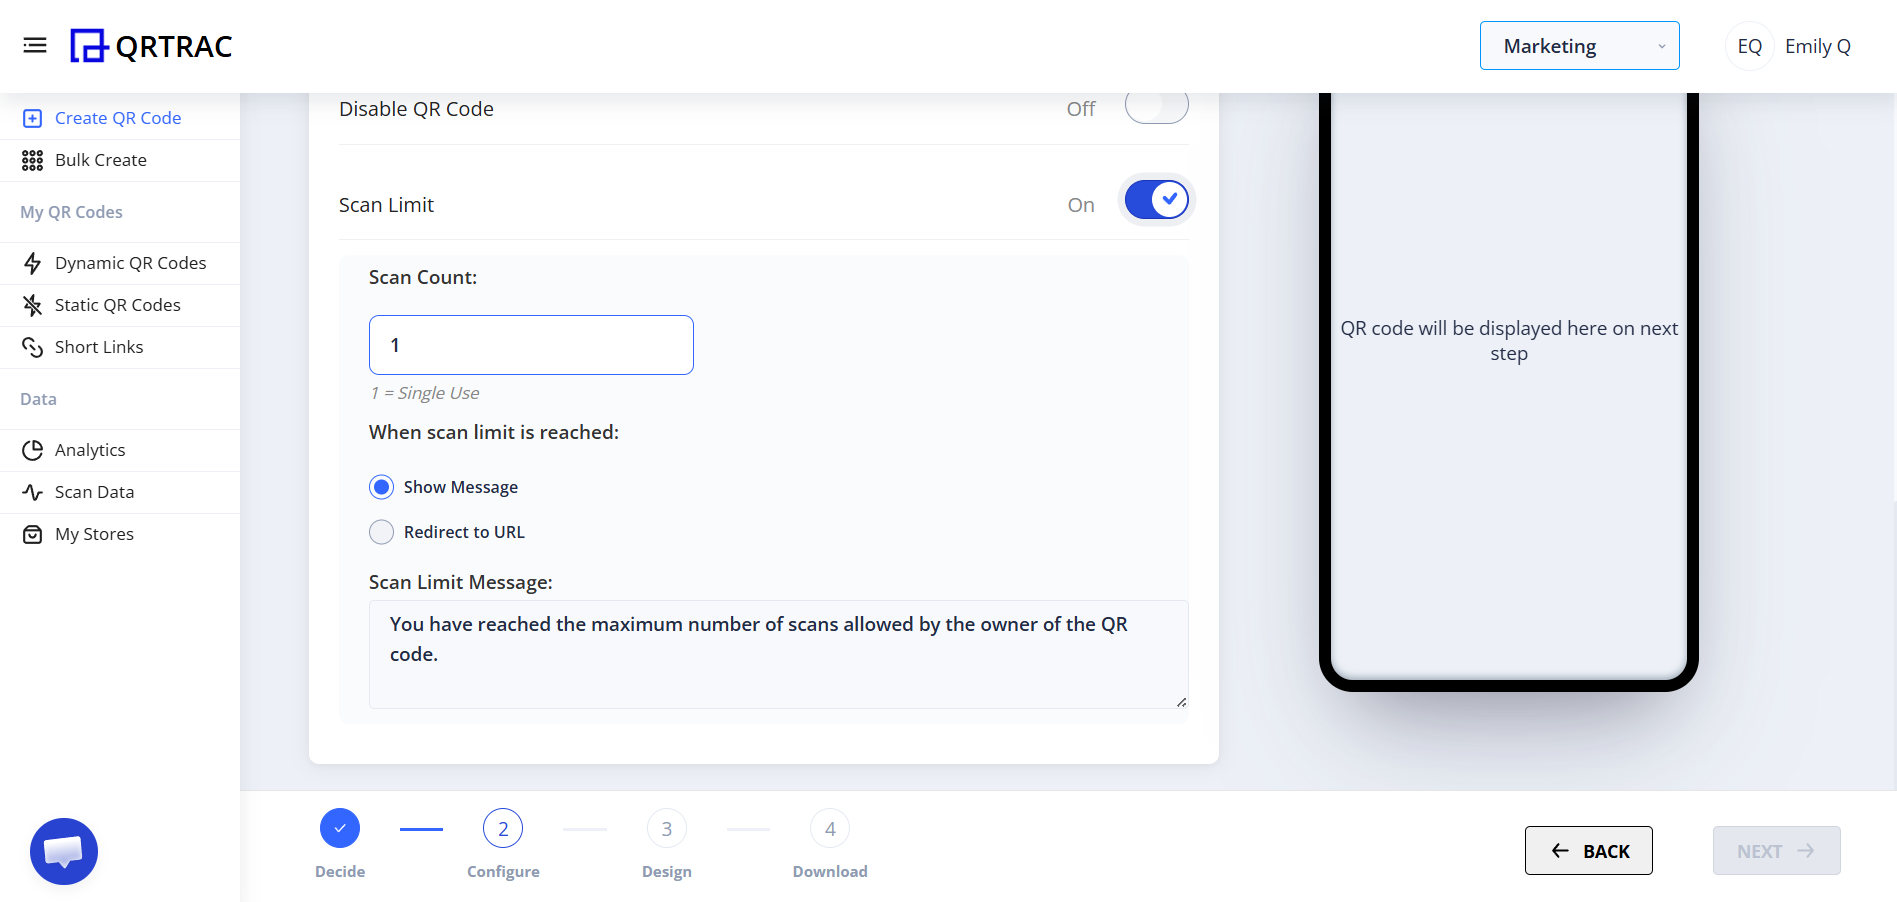
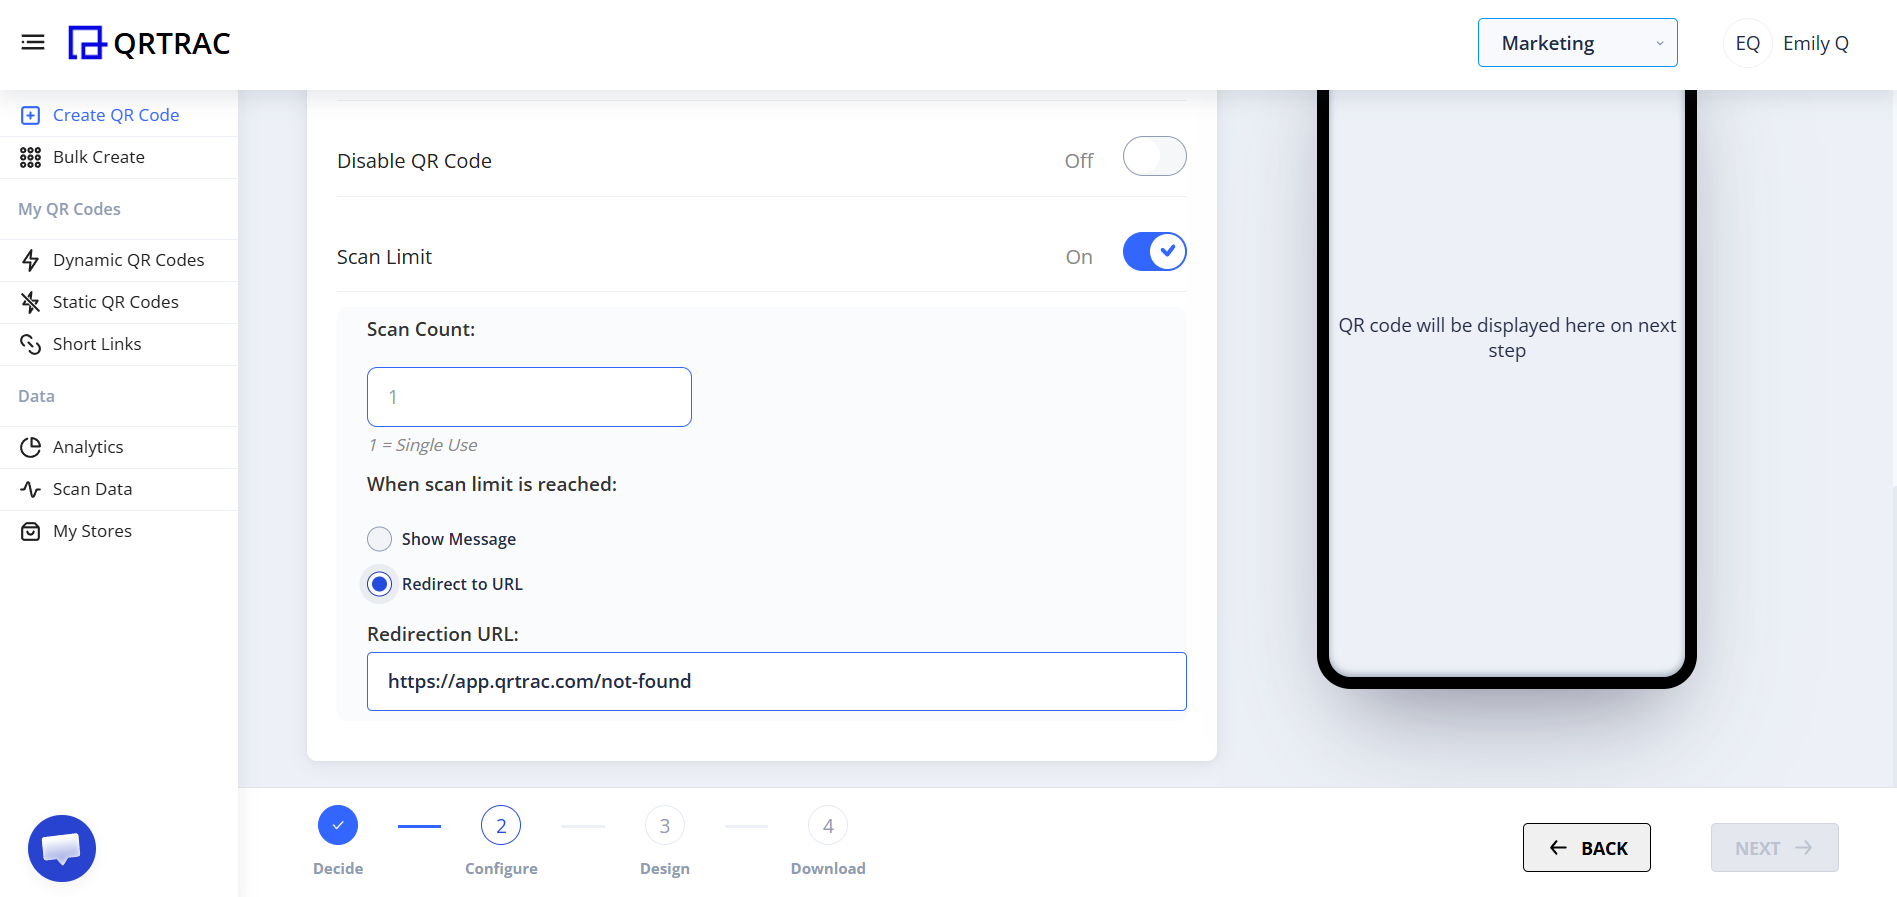
Settings inside Scan Limit:
- Scan Count — e.g., 1 = single use, 5 = maximum 5 scans
- When the limit is reached, choose to show a message or redirect to a URL
- You can also customize the message shown to users
👉 Perfect for: coupon redemption, single-use tickets, limited access promotions
Tip: Always test your QR code after enabling any Advanced Setting — scan once, check analytics, test expiry, verify password, and confirm scan limit behavior.
Frequently Asked Questions
Q Can I enable multiple Advanced Settings at once?
A Yes. You can combine any number of settings — for example, GPS Tracking + Password Protection + Scan Limit all on the same QR code.
Q Can I change Advanced Settings after the QR is already printed?
A Yes. Because QRTRAC uses Dynamic QR codes, you can update any Advanced Setting from your dashboard at any time without reprinting.
Q What happens when Scan Limit is reached?
A You can configure the QR to show a custom message or redirect users to a specific URL when the limit is reached.
Q Will GPS Tracking always get precise location?
A GPS accuracy depends on the user’s device and whether they grant location permission to their browser. Users who deny permission will not have precise location logged.
Q What happens to scans after a scheduled campaign ends?
A After the End Date, the QR code will stop redirecting users to its destination. You can extend the campaign or disable the schedule at any time from the dashboard.
Common Mistakes
- ❌ Enabling Scan Limit but forgetting to increase the count.
- ❌ Setting wrong campaign start or end dates.
- ❌ Adding an incorrect redirect URL.
- ❌ Forgetting the password after enabling Password Protection.
- ❌ Enabling GPS without testing that location permission is granted.
Launch Checklist
- GPS tracking configured & tested
- UTM parameters added correctly
- Campaign dates verified
- Password recorded & tested
- Scan limit tested
- Redirect URL verified
🎯 You’re Done!
Your QR Code is now fully controlled with Advanced Settings — better tracking, stronger security, smarter campaigns.